How to boresight your scoped rifle
When it comes to sighting in a rifle, the market is flooded with an array of modern gadgets and advanced devices designed to assist shooters in achieving pinpoint accuracy. From laser systems to high-tech collimators, these tools offer precision and convenience. However, in this article, we're going to take a step back and introduce you to an old-school method of boresighting – a technique that might just become your go-to approach for quickly getting on target. Amidst the sea of technological innovations, this traditional method holds its ground as a reliable and efficient way to achieve accuracy in your shooting endeavours. Let's delve into the world of boresighting and discover the simplicity and effectiveness that this time-tested method brings to the table.
G’day everyone! Keith here from the NIOA workshop, and today we're taking a closer look at boresighting using the new Remington 700 long range rifle in 7mm Rem Mag. Paired with the Remington Tipped Core-Lokt 150 grain 7mm Rem Mag ammo, I'll be demonstrating a step-by-step process for a simple and effective boresighting right here on the range. This technique not only conserves ammunition but also ensures accurate and efficient zeroing, whether you're preparing for hunting or precision target shooting.
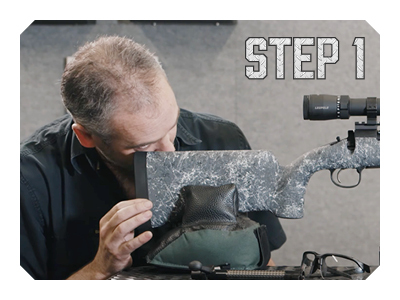
Step 1 Setting the Parallax for Target Clarity and Error Reduction
To start, I'll adjust the parallax on the rifle scope to align with our target, which is positioned at 100 metres. By removing the bolt and observing through the bore, I can roughly align the target's image with the outer shadow of the bore. This initial alignment allows me to make quick adjustments, ensuring that the bullets will at least hit the paper target.
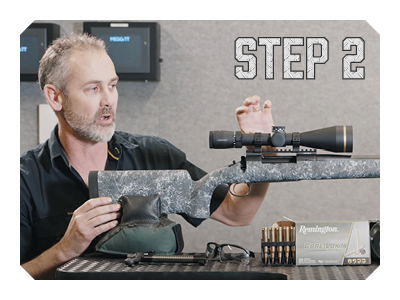
Step 2 Eliminating Parallax Error
Parallax error can lead to inaccurate shots due to head movement. Not all scopes have adjustable parallax, but in this case, I'm using the Leupold VX-5 HD scope with side parallax adjustment. I'll tweak the setting until the reticle remains steady even when I move my head, eliminating potential sources of inaccuracy during firing.
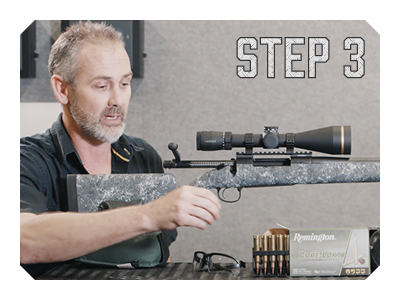
Step 3 Initial Shot Placement and Adjustment
With the rifle roughly aligned using boresighting and parallax set, I'll load a round and prepare for the first shot. Equipped with proper personal protective equipment (PPE), including hearing and eye protection, I take the shot and establish a reference point on the target.
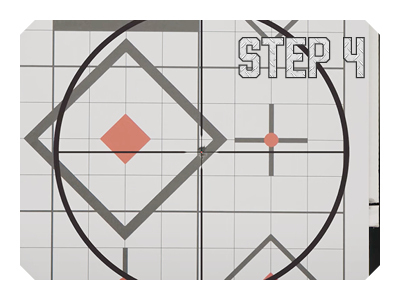
Step 4 Aligning the Reticle with the Bullet Hole
Through the scope, I can see where the bullet hole landed in relation to my initial aiming point. To zero the rifle, I'll reset the reticle to my aiming point and adjust the windage and elevation dials to align the reticle with the bullet hole. This method eliminates the need for complex measurements and calculations.
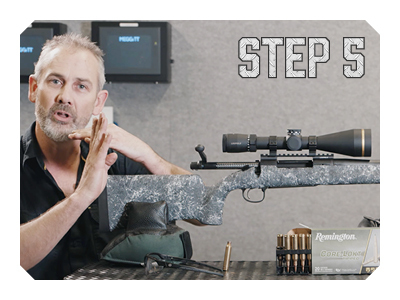
Step 5 Confirming Accuracy and Refinement
After adjusting the reticle, I fire a series of shots to confirm accuracy. In this case, three shots form a tight group on the target. This confirms that the boresighting technique, combined with reticle adjustments, has effectively zeroed the rifle. Fine-tuning may be required, typically only a few clicks, to centre the group perfectly.
There you have it – a step by step guide to DIY boresighting for a scoped rifle. By combining conventional bore sighting techniques with reticle adjustments, we've successfully zeroed the Remington 700 long range rifle. While various contraptions are available on the market for boresighting, this old-school method remains a practical and efficient approach. Whether you're a hunter or target shooter, this technique will help save ammunition and ensure accurate shots in your next shooting endeavour.
Example Product of other BoreSighting Devices
BUSHNELL PROFESSIONAL BORESIGHTER WITH ARBOR KIT (BU743333)
You can cut down on sight-in time when you use Bushnell's Professional Boresighter Kit.
It aligns the muzzle with your scope's reticle to get you on paper quickly, saving you hassle at the range. Actual firing of the gun is not necessary, so you can even use it indoors.
This comprehensive kit includes a boresighter and three expandable arbors all neatly packaged in a case for travel and storage.
Arbors cover all calibres from .22cal to .45cal and also includes a fixed .17 calibre arbor.
Features include hassle-free sighting-in and boresight indoors without Live Fire.


